
Your Viewing Software

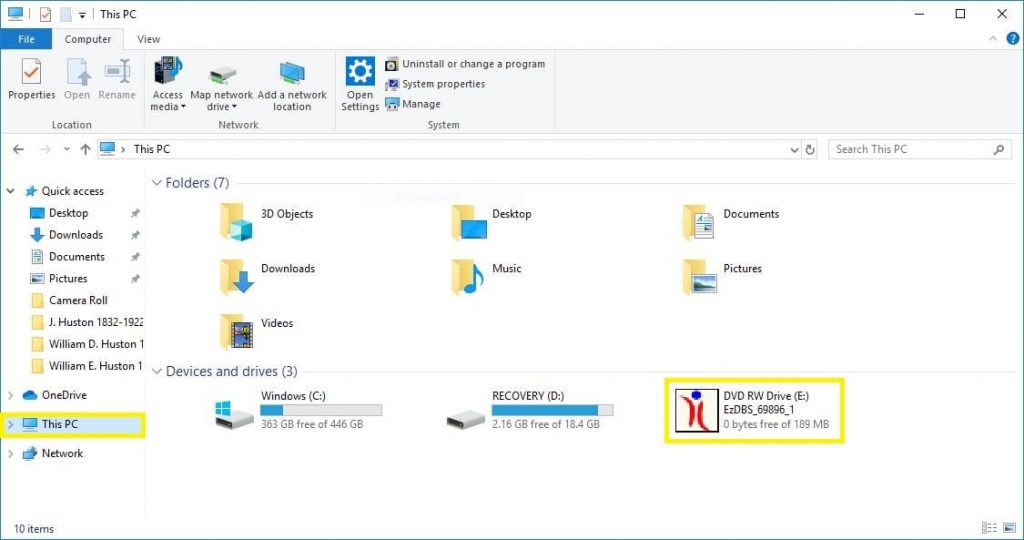
Checking for DICOM Viewer (computer required)
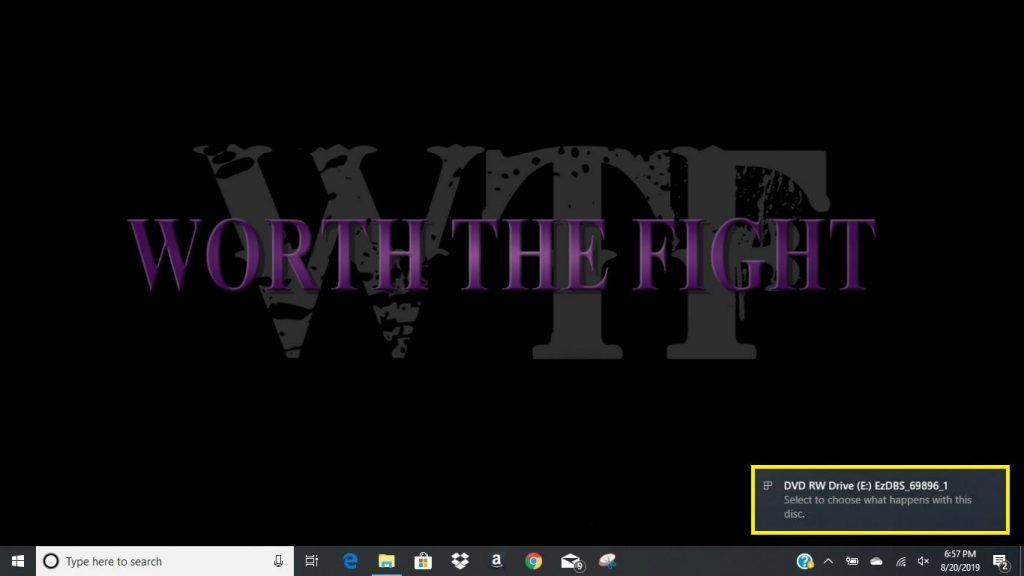
Most disks come with MRI viewing software on them. When they do, that makes it easier. When they don’t, the process can be frustrating. This part of the unit is aimed at helping you determine IF your disk came equipped with software and if it did not, how to download free software.
There are three images in this lesson, each with information to help walk you through the process of checking for MRI viewing software on your disk.
(This is a PC Windows 10 tutorial. It will be slightly different for Mac and/or earlier versions of Windows.)
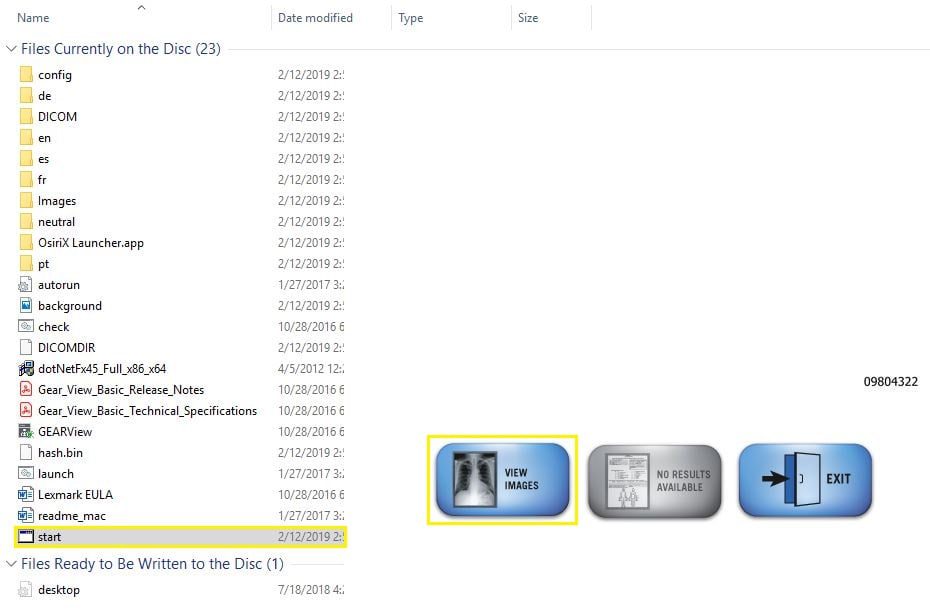
Downloading a DICOM Viewer (if not on your disk):
If your disk did not contain viewing software, you will have to download a DICOM viewer to open your MRIs. There are many free versions available. We recommend this free version: http://www.onis-viewer.com/Default.aspx